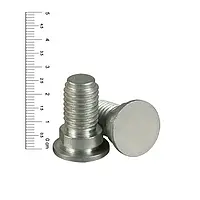
Preparation for use
- Clean the surface of the measuring probe and the surface where you want to
place the probe, for example, by using fine sand paper.
- Prepare the epoxy adhesive as instructed on the packaging and mix it
thoroughly.
- If you use single-component super glue, open the tube.
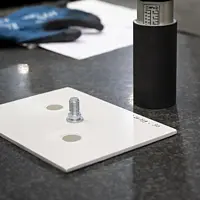
- Apply the glue to the surface and place the measuring probe on the surface
covered with glue, as described in more detail on the packaging.
- Use the cutter to slightly scratch the area around the measuring probe.
Operation
- Turn the top knob of the adhesion tester counter-clockwise to release the
gripping mechanism and the spring.
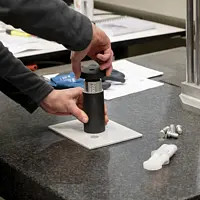
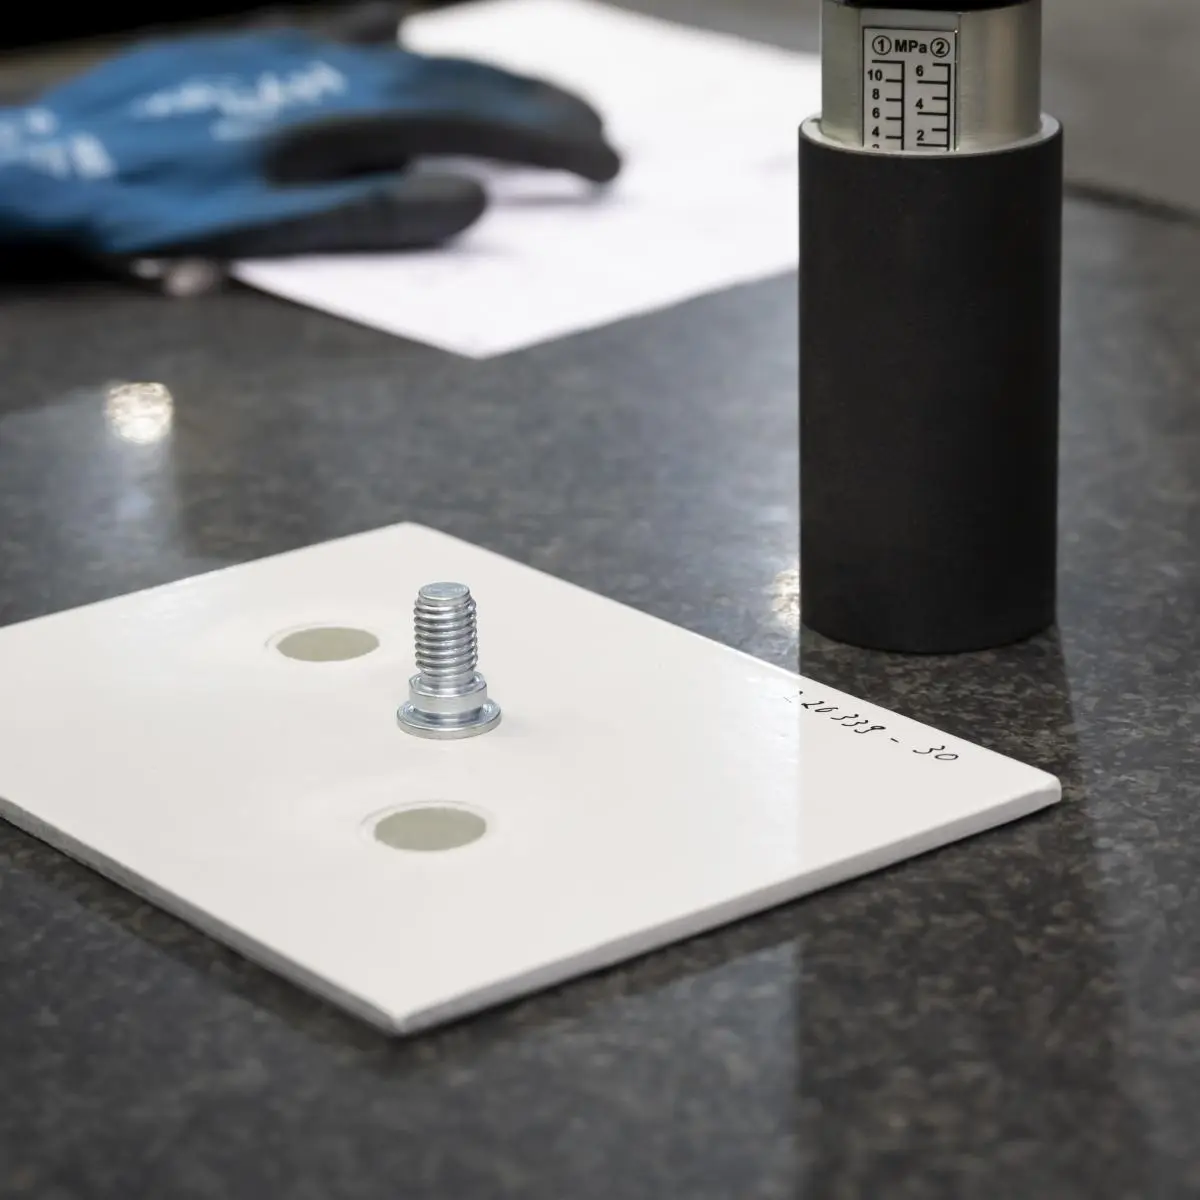
- Now screw the adhesion tester (thread at the bottom) onto the measuring probe
until the device reaches the surface to be tested.
- Turn the top knob clockwise until the measuring head is released from the
test surface. You can read the tearing force from scale 1 or 2, depending on
the measuring probe used.
- If the measuring probe has not been separated from the surface, turn the knob
counter-clockwise to release the spring mechanism and remove the device from
the measuring probe.
- Separate the measuring head from the surface, using a chisel and hammer.
- If the measuring probe has been separated from the surface, unscrew it from
the device, using the wrench.
- Clean from the surface of the measuring probe any glue and paint residues or
splinters.


 [zoom]
 [zoom]
 [zoom]
 [zoom]
 [zoom]
 [zoom]
 [zoom]